
Traveling can be stressful, especially when it comes to understanding what you can and cannot bring in your carry-on luggage. One common question many ...
Western Razor Reviews: A Closer Look at This American-Made Safety Razor Brand
In recent years, there has been a resurgence in the popularity of traditional wet shaving. Safety razors have become an increasingly popular choice ...
Western Razor: David Angelo is The Founder
If you're in search of a high-quality shaving experience, then Western Razors is the perfect option for you. This relatively new company has quickly ...
How to Get Rid of Nair Smell?

Nair is a fantastic hair removal product, which is also noted for its incredibly strong aroma. Fortunately, there are several different ways to ...
How To Keep Razor From Rusting – A Detailed Guide

If you are a regular groomer, chances are you are no stranger to rusty razors. If stored and used incorrectly, oxidation may tamper with your shaving ...
Harry’s Vs Mach 3, Which Will Be In Your Purchasing Cart?

When an electric razor is somehow too expensive for the majority of customers they tend to pick up the product with the economical price and cartridge ...
Bic Vs. Gillette Razors – The Fight Of The Kings In 2023
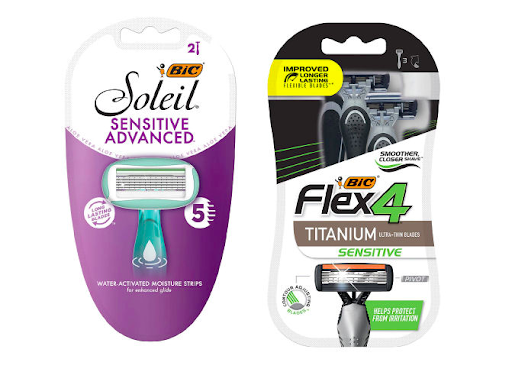
Bic vs Gillette Razors, which brand should you choose to have smooth skin? As we know, Bic and Gillette are the leading brands in the shaving field, ...
Gillette Sensor Vs Sensor Excel: Which One Should You Pick?

If you have no idea which razor you should pick between Gillette Sensor vs Sensor Excel, we have all the information here which can help you make up ...
Can You Bring Shaving Cream On A Plane?- Here’s Your Answer!
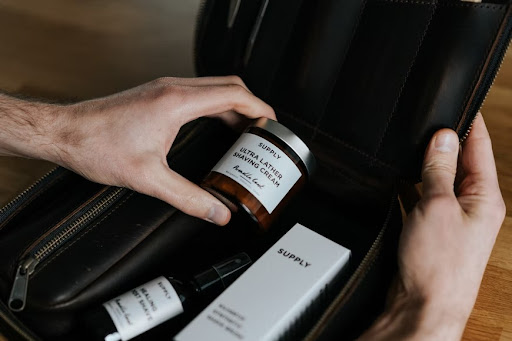
Every flight has restrictions on liquids, gels, and creams. So, can you bring shaving cream on a plane? If yes, how much? Scroll down now to find the ...
Can You Use A Beard Trimmer For Pubic Hair? A Thorough Explanation.
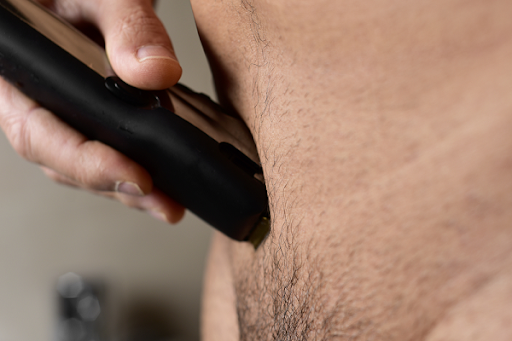
If you have a beard trimmer and have no idea whether you can use it to trim your beard and pubic hair interchangeably. This article will help you out! ...